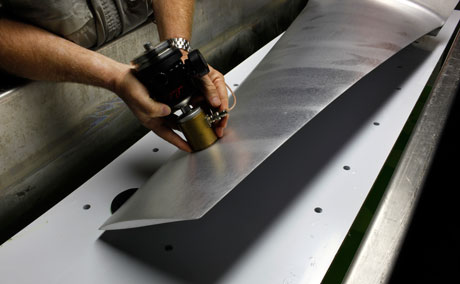
Ultrasonic methods of non destructive testing use beams of mechanical waves of short wavelength and high frequency, transmitted from a probe and detected by the same or other probes. An oscilloscope display with a time base shows the time it takes for a ultrasonic pulse to travel to a reflector (a flaw, the back surface or other free surface) in terms of distance travelled across the oscilloscope screen. The height of the reflected pulse is related pulse is related to the flaw size as seen from the transmitter probe. The relationship of flaw size, distance and reflectivity are complex, and a considerable skill is required to interpret the display.
Ultrasonic examination is utilized as a non-destructive testing method to carry out a wide variety of testing tasks enabling Victor Aviation technicians to conduct internal material defect examinations and make measurements of a component. The testing process may be performed in an immersion tank or on the surface of the material to be examined using a couplant and piezoelectric sensors. For applications where a couplant is not desired we use electromagnetic acoustic transmission using EMAT sensors which require no couplant. |
|
 |


