X-Ray Diffraction (XRD)
The nondestructive nature of the X-ray Diffraction technique has made residual stress and austenite characterization a primary tool for process optimization, design improvement and quality control testing of materials.
The properties of a material can often be linked back to the arrangement of atoms in its crystal structure. X-ray diffraction is a non-destructive analytical technique which can yield the unique fingerprint of Bragg reflections associated with a crystal structure.
One can regard a crystal structure as being built of layers, or planes, which each act as a semi-transparent mirror. X-rays with a wavelength similar to the distances between these planes can be reflected such that the angle of reflection is equal to the angle of incidence. This behavior is called `diffraction´, and it is described by Bragg's Law: 2dsinθ = nλ
When Bragg´s Law is satisfied, constructive interference of diffracted X-ray beams occur and a `Bragg reflection´ will be picked up by a detector scanning at this angle. The positions of these reflections tell us about the inter-layer spacing's of atoms in the crystal structure, thanks to Bragg´s Law. Peak intensities give information about how much X-ray scattering is contributing to that reflection – e.g. where particular atoms lie in the structure, or how much of a phase is present in a sample.
Analysis of the diffraction pattern allows the identification of phases within a given sample. With that achieved, it may be possible to quantify each phase present, the crystal structures and their lattice parameters, crystallite size and strain... all information that can be vital in material characterization and quality control.
Retained Austenite Measurement
Austenite is a face centered cubic (FCC) phase present in steel at high temperature. Upon cooling, most of the steel is transformed into ferrite - a body centered cubic (BCC) phase, or into martensite - a body centered tetragonal (BCT) phase. Depending on the rate of cooling some percentage of the steel (typically 0-30%) will remain as austenite. Hence the term "retained austenite". The amount of retained austenite present can play a significant role in the performance, dimensional stability and longevity of a steel component.
Residual Stress Measurement
Residual stresses are the internal stresses created inside a component, during manufacturing. Harmful residual stresses can lead to stress corrosion cracking, distortion, fatigue cracking and premature failure of components, Techniques, such as heat treating and cryogenic processing can be applied to help manage potentially harmful residual stresses created during manufacturing.
Other techniques, such as shot peening, are used to introduce beneficial residual stresses into a component to help increase fatigue life. Knowledge of the residual stress state is important to ensure that these processes have been correctly applied. Small changes in the residual stress state can often have a significant effect on the life of a component. |
|


| Portable X-Ray Residual Stress Analyzer
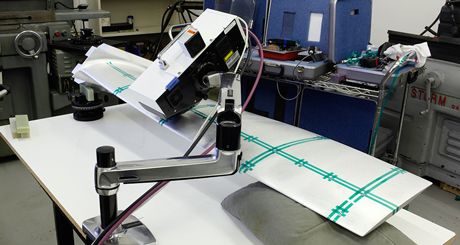
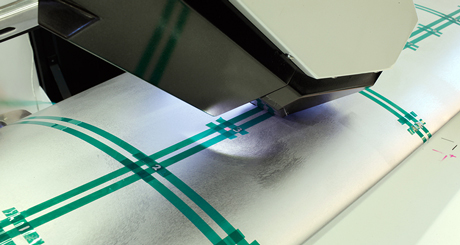
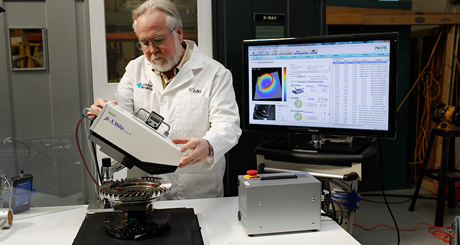
μ-X360 non-destructive X-ray diffraction(XRD) based stress analyzer.
This small, light-weight, low-cost, low-radiation-dose, fast-cycletime analyzer can measure Residual Stress, FWHM, Retained Austenite by detecting the full Debye ring's profile from single incident X-ray angle. Learn More - Brochure
Victor Aviation Service, Inc. USA Dealer Representative |
|

